Fastest setup
VitalThread GPT
Add the GPT, authorize VitalThread, and ask questions using your stored meals, training, and health context.
Add the VitalThread GPTYour first useful hour
Complete your profile first. Then choose the next action that is useful today. Providers are optional, and every connection can be added or changed later.
Mobile beta access
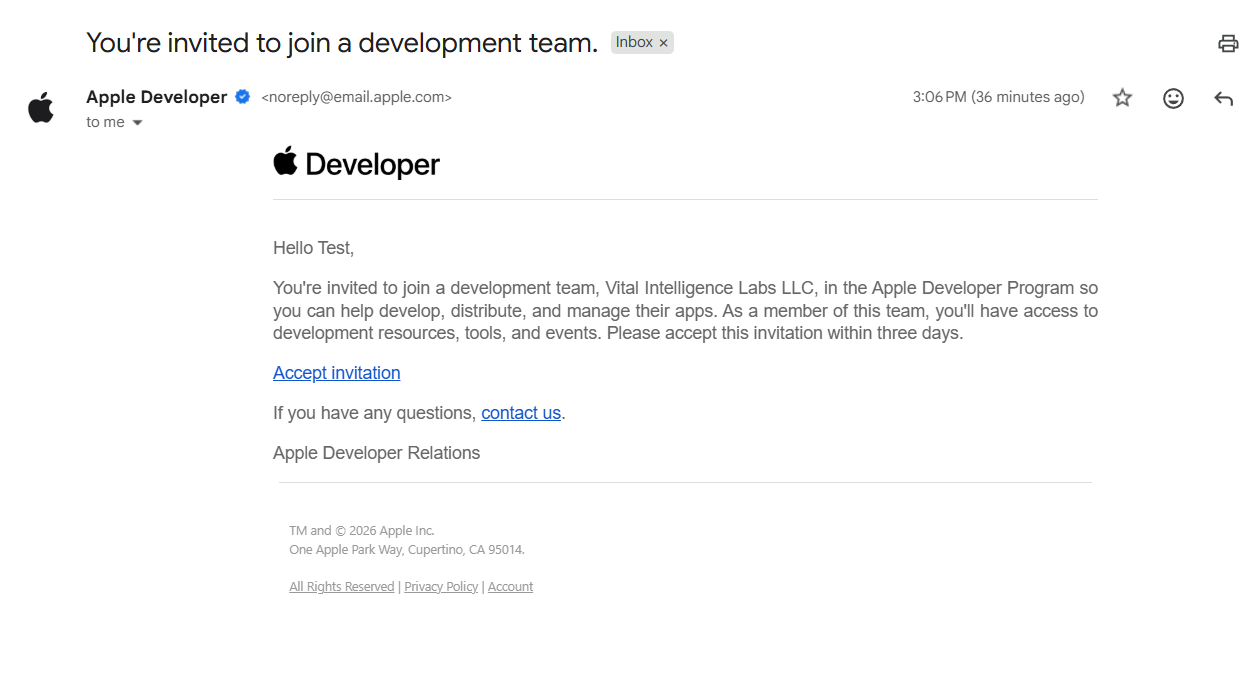
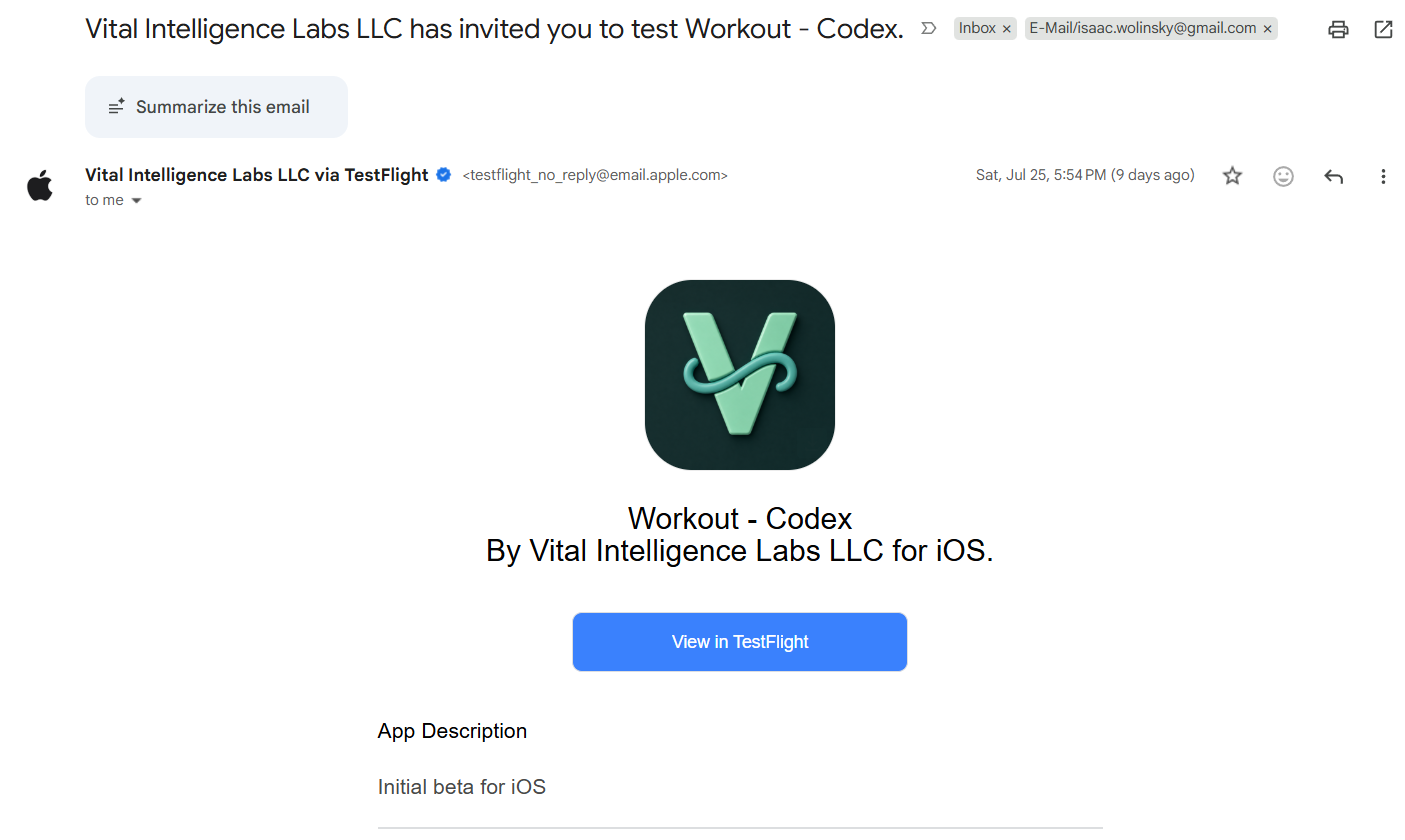
Apple testers receive a developer-team invitation followed by a TestFlight invitation. Android testers receive a Google Play testing invitation. Invitations may arrive at different times or at different email addresses.
On Apple, accept the invitation to join the Vital Intelligence Labs developer team. On Android, accept the Google Play testing invitation.
On Apple, open the separate TestFlight email and select View in TestFlight. On Android, install from the Google Play testing link.
Open VitalThread and use the OAuth account you used to register.
After your profile
These are not gates or required steps. Start with one, return for the others, or go directly to Today.
Optional
Add Polar, Oura, WHOOP, Fitbit, Apple Health, or Health Connect. Missed one? Add it later in Settings.
Services & Settings CCreate a routine, adapt an existing plan, or prepare the next workout session.
Training plans DAdd photos or describe what you ate, then review the nutrition estimate before saving.
New meal EAsk about your meals, training, recovery, or patterns in the data already available.
Ask VitalThreadConnected providers
Initial imports may continue after authorization succeeds. Sync the wearable in its own app first, then check VitalThread for the provider's connection status and latest data date.
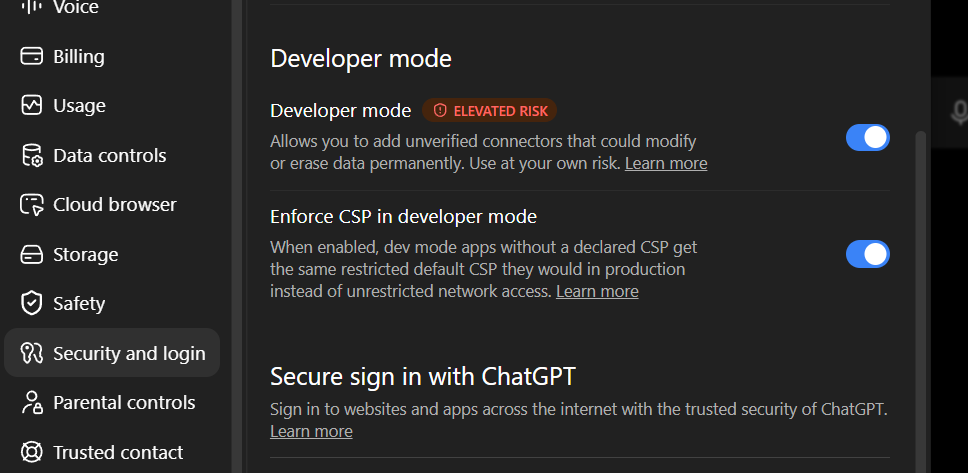
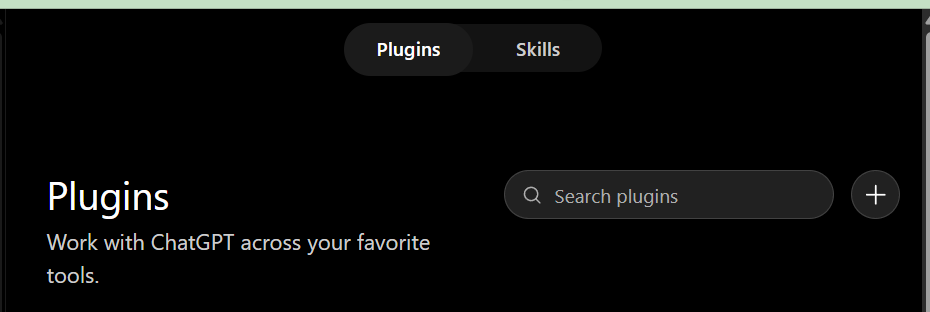
Use another AI
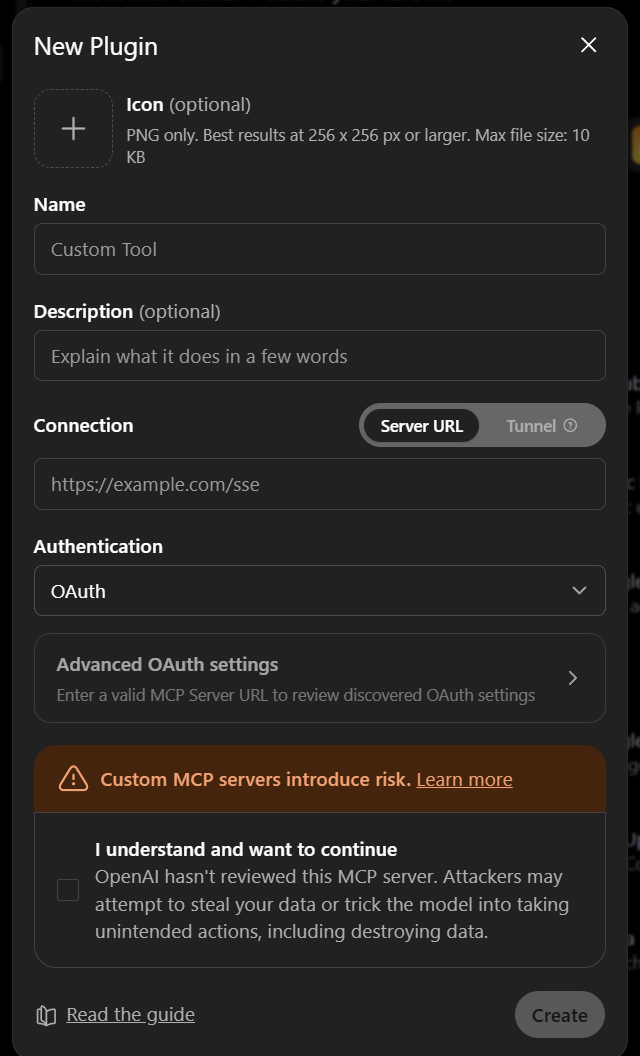
Prefer another interface? Connect it to your VitalThread account. External clients only receive data through the tools you authorize.
https://thread.vitallab.app/mcp, and leave Authentication set to OAuth.